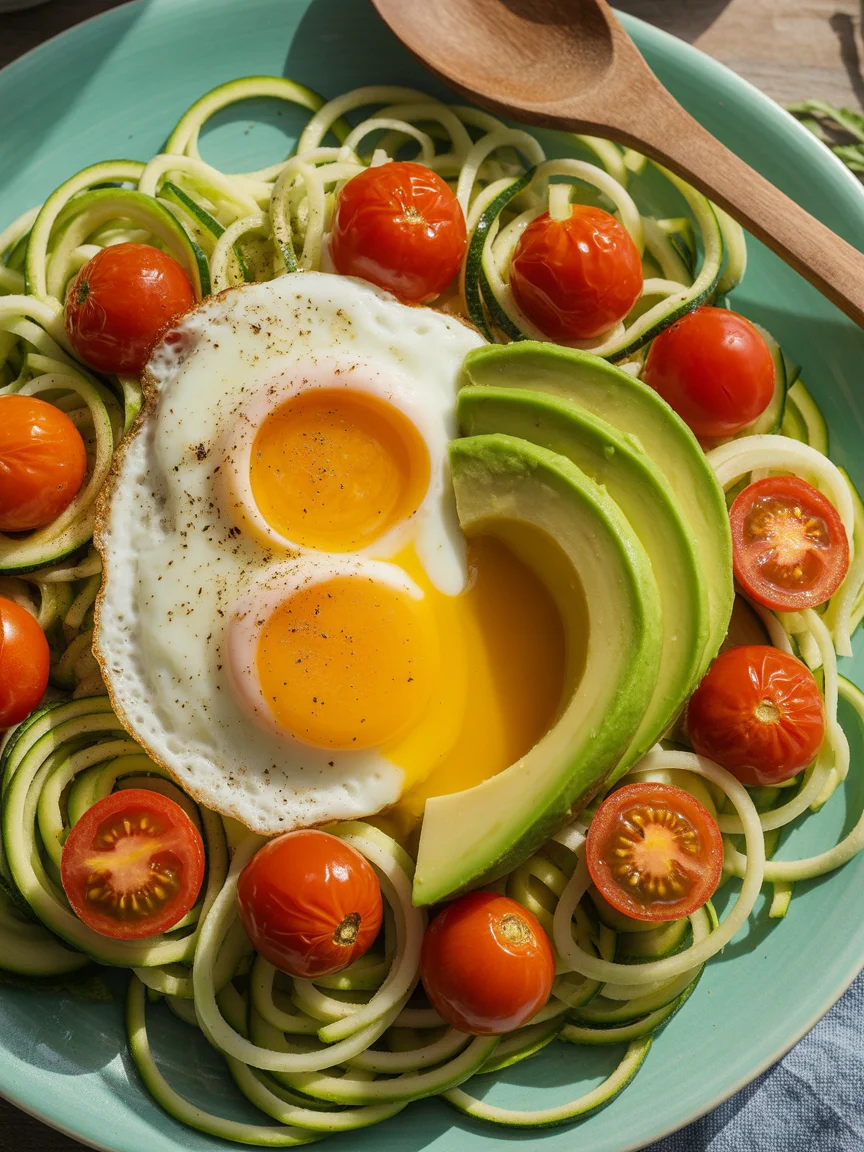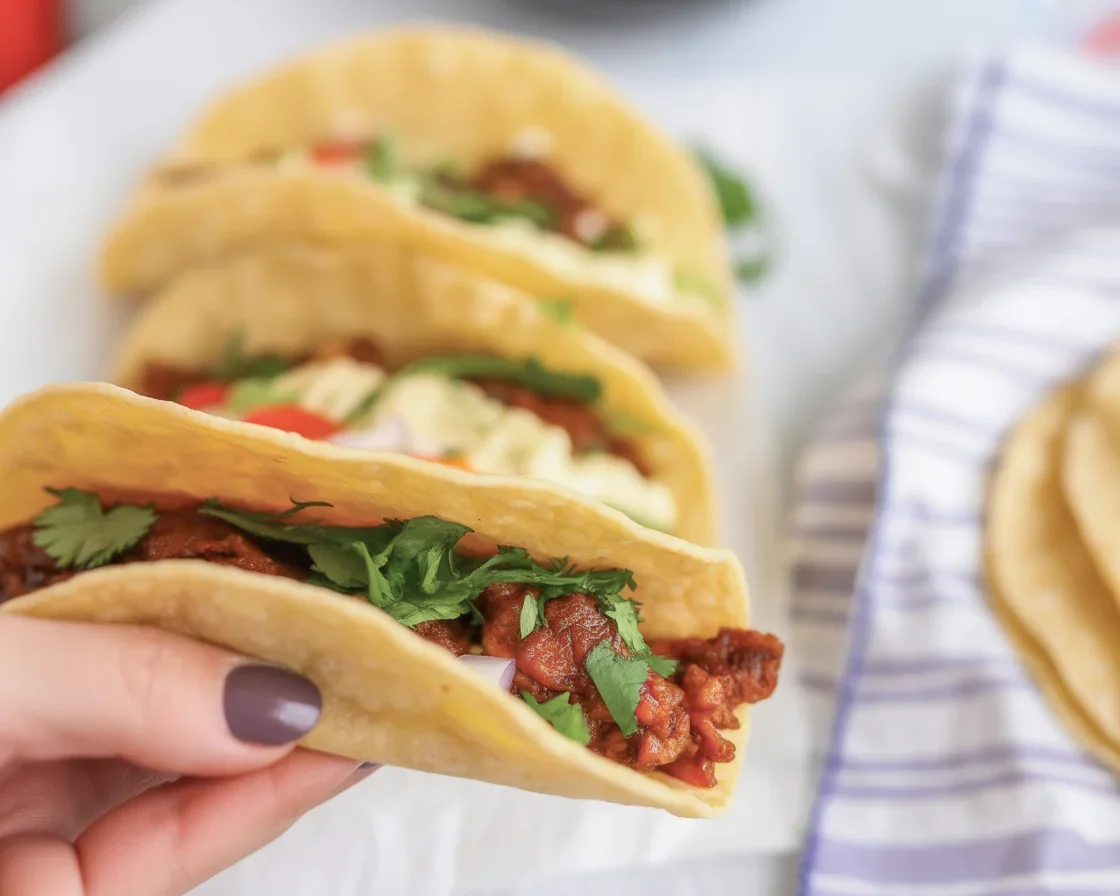

High Protein Cottage Cheese Breakfast Tacos
Start your day with a nutritious boost! High Protein Cottage Cheese Breakfast Tacos are not just delicious, but they also pack a punch of protein. These tasty tacos are perfect for breakfast, offering a unique twist on traditional morning meals.
Why Make This Recipe
You might wonder why you should try these breakfast tacos. First, they are rich in protein, thanks to the cottage cheese and egg. This means they can help keep you full and energized throughout your morning. Second, they are easy to make and can fit into many dietary plans. Plus, they are super customizable, allowing you to add your favorite toppings and spices. You can feel good about starting your day with such a wholesome meal!
How to Make High Protein Cottage Cheese Breakfast Tacos
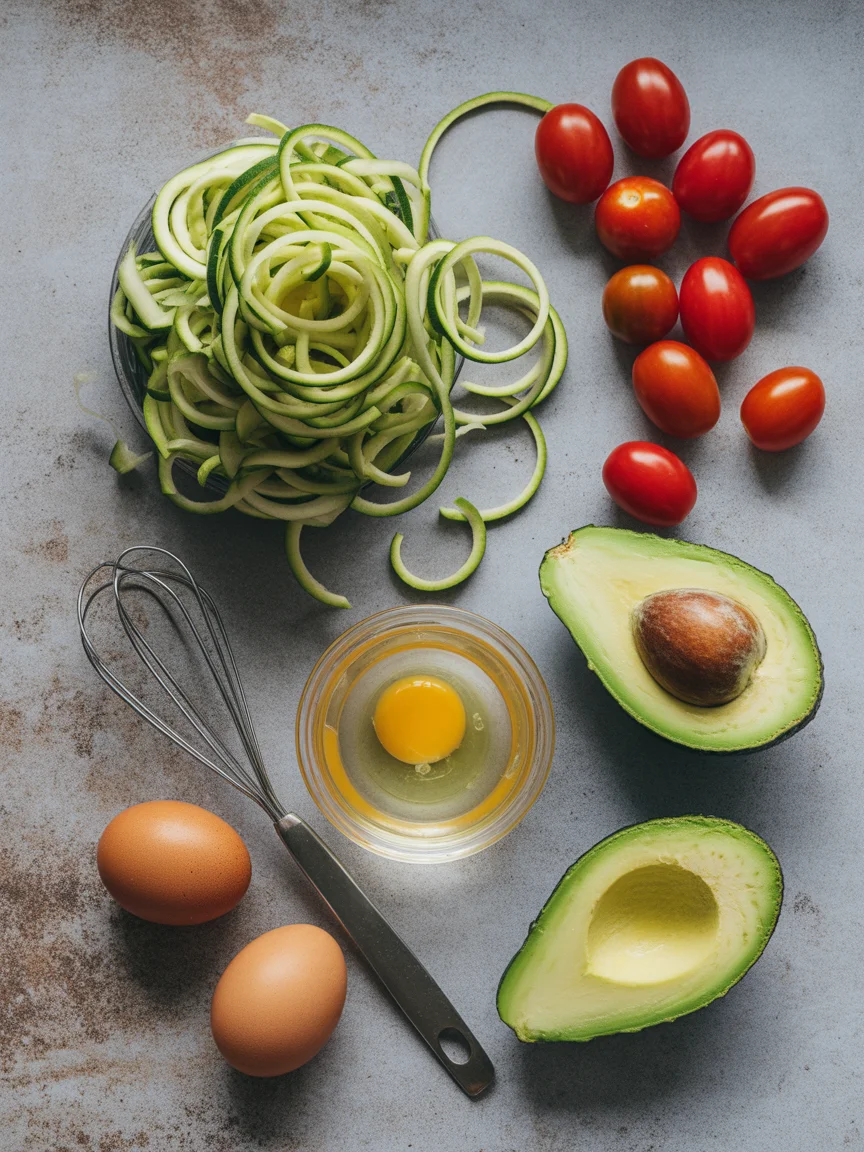
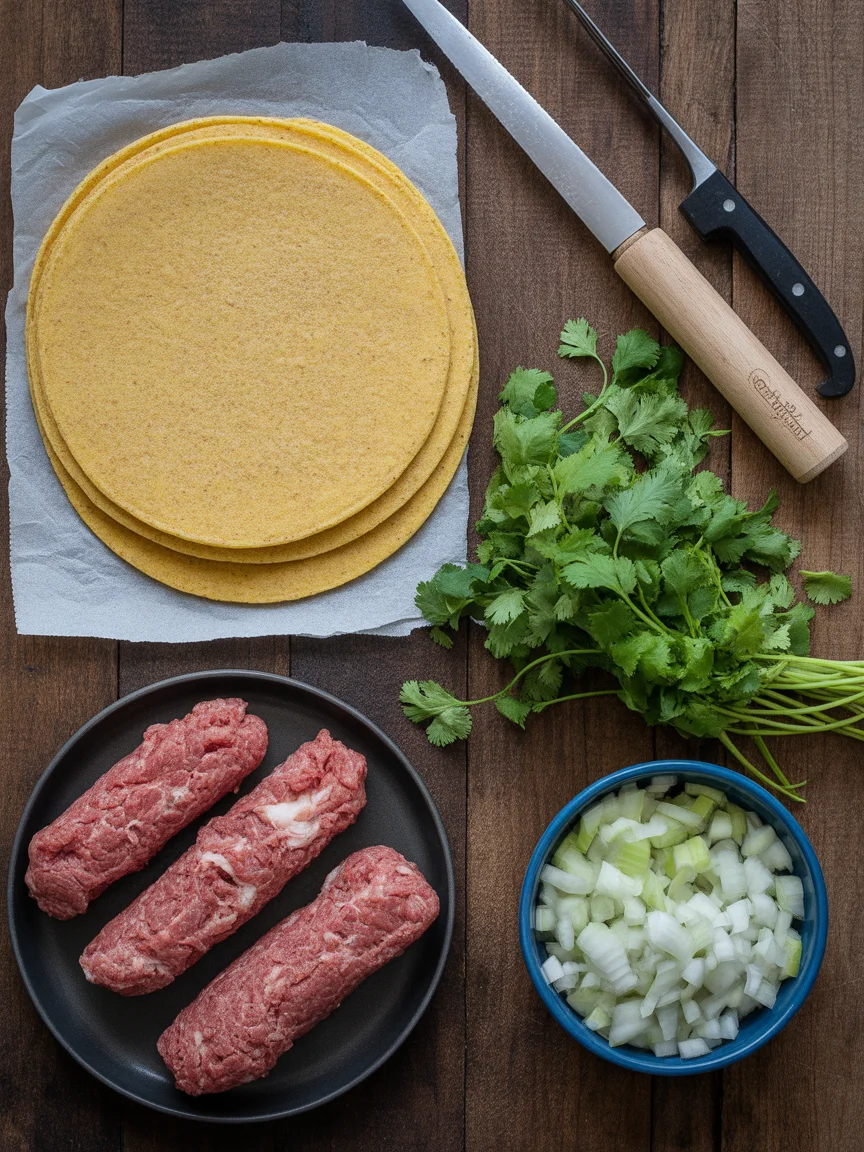
Ingredients
- 3 tbsp low fat cottage cheese (200g)
- 1 egg white
- Pepper (oregano & chili flakes)
- 2 fried eggs
- 2 tbsp pesto
- Handful rocket (arugula)
- Chopped chives
- 2 tsp Sriracha
- 1 avocado
Directions
- Preheat your oven or air fryer to 400°F (about 200°C).
- In a bowl, whisk together the low-fat cottage cheese and egg white with a fork until well combined. The mixture should be smooth and evenly mixed.
- On a baking sheet lined with parchment paper, spoon the cottage cheese mixture into two equal circles, spreading them out to form small taco bases. Season with salt, pepper, oregano, and chili flakes.
- Place the baking sheet in the oven or air fryer and bake for 20-35 minutes. Your tacos should be crispy and golden when finished.
- Halfway through, carefully dab any excess liquid with a paper towel and use a spatula to reshape the taco bases if needed.
- While the taco bases cool for 10 minutes, prepare your toppings. Cook the eggs to your preferred doneness and chop the chives.
- Spread a spoonful of pesto over each cooled taco base. Top with the cooked eggs, a handful of rocket, and chopped chives. Finish with a drizzle of Sriracha for a spicy kick.
- Enjoy your high-protein cottage cheese breakfast tacos immediately while they’re fresh and flavorful!
How to Serve High Protein Cottage Cheese Breakfast Tacos
Serve these tacos warm, right after making them. They are great on their own, or you can pair them with fresh fruit or a smoothie for a complete breakfast.
How to Store High Protein Cottage Cheese Breakfast Tacos
If you have leftovers, you can store them in an airtight container in the fridge for up to 2 days. When you’re ready to eat them again, simply reheat them in the oven or air fryer until warm.
Tips to Make High Protein Cottage Cheese Breakfast Tacos
- Feel free to adjust the spices to your liking. Add more chili flakes if you want more heat!
- You can substitute the avocado with any other topping you like, such as diced tomatoes or salsa.
- If you want to add more veggies, try adding bell peppers or spinach in your taco mix before baking.
Variation
You can create different flavor profiles by changing the pesto to another sauce like hummus or yogurt. You could also use whole eggs instead of just egg whites for a richer taste.
FAQs
Q: Can I use full-fat cottage cheese instead of low fat?
A: Yes, you can use full-fat cottage cheese. It will make your tacos creamier but with a higher calorie count.
Q: Can I make these ahead of time?
A: Yes, you can prepare the taco bases and toppings ahead of time. Just store them separately in the fridge and assemble them when you’re ready to eat.
Q: Are these tacos gluten-free?
A: Yes, these tacos are gluten-free as they are made without traditional tortillas. Just ensure your ingredients are gluten-free.
Enjoy making and eating your High Protein Cottage Cheese Breakfast Tacos! They are a fantastic way to start your day strong!
High Protein Cottage Cheese Breakfast Tacos

Start your day with a nutritious boost from these high protein breakfast tacos that are easy to make and fully customizable.
For the Taco Bases
- 3 tbsp low fat cottage cheese ((200g))
- 1 pcs egg white
- Pepper (oregano & chili flakes)
For the Toppings
- 2 pcs fried eggs (Cooked to your preferred doneness)
- 2 tbsp pesto
- 1 handful rocket (arugula)
- to taste chopped chives
- 2 tsp Sriracha (For a spicy kick)
- 1 pcs avocado (Optional topping)
Preparation
- Preheat your oven or air fryer to 400°F (about 200°C).
- In a bowl, whisk together the low-fat cottage cheese and egg white until well combined.
- On a baking sheet lined with parchment paper, spoon the cottage cheese mixture into two equal circles to form taco bases.
- Season with salt, pepper, oregano, and chili flakes.
Baking
- Bake in the oven or air fryer for 20-35 minutes until crispy and golden.
- Halfway through, dab any excess liquid with a paper towel and reshape the taco bases if needed.
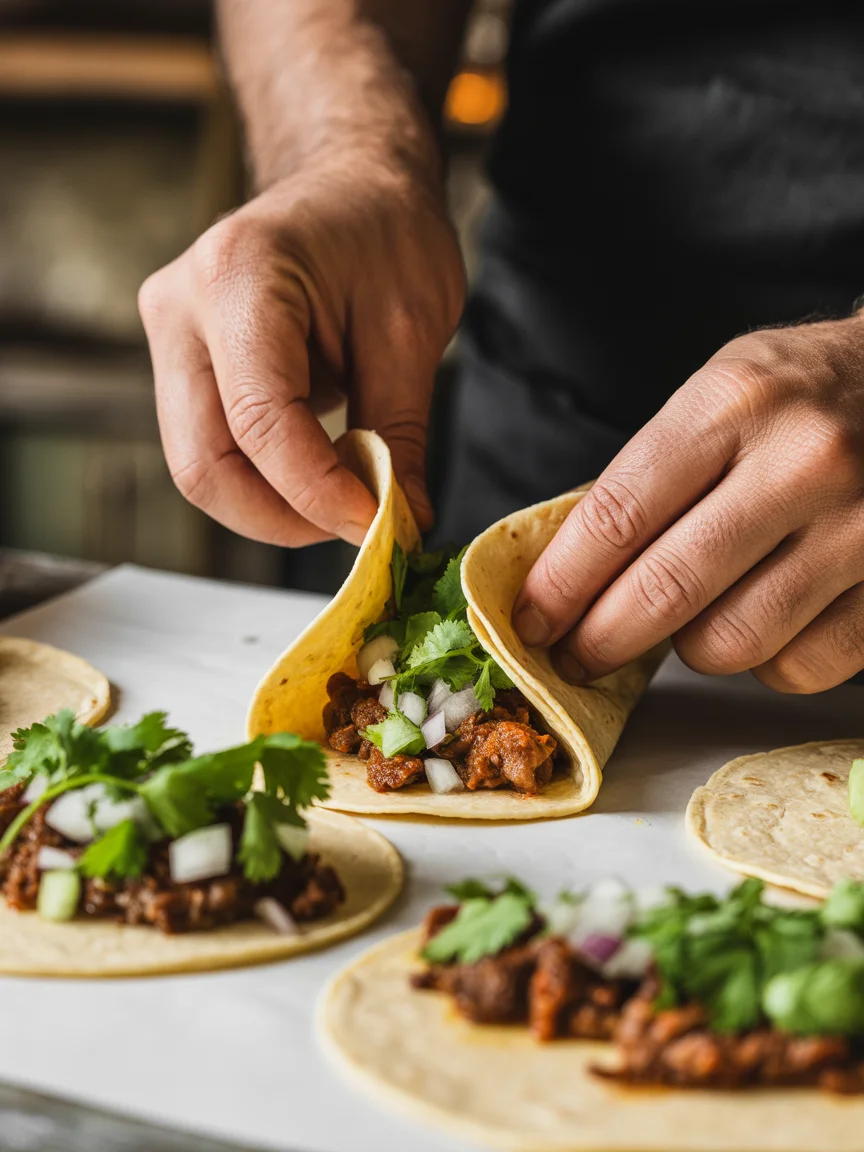
Assembly
- Once taco bases are cool for 10 minutes, prepare your toppings by cooking the eggs and chopping the chives.
- Spread a spoonful of pesto over each taco base.
- Top with cooked eggs, rocket, and chives. Finish with a drizzle of Sriracha.
Serve warm and enjoy immediately. Pair with fresh fruit or a smoothie for a complete breakfast. Store leftovers in an airtight container in the fridge for up to 2 days and reheat as needed.