keto chicken alfredo casserole has honestly saved my dinner routine more times than I can count. You know those chilly weeknights when you want something hearty and filling but your brain is screaming for something easy? Yeah, this is what you need. I used to get overwhelmed searching for low-carb comfort food. Tried a million things, but none of them hit the cozy spot like this recipe. If you’re craving creamy, cheesy, and totally satisfying, you’ve gotta check out this keto chicken alfredo casserole that never disappoints! 
Why Make This
Okay, let’s just say it. Not all keto meals are created equal. Some feel like diet food (you know…it’s true). But this keto chicken alfredo casserole? Tastes like you stumbled upon a five-star restaurant on your own dinner table. No joke, the combination of juicy chicken, rich Alfredo sauce, and gooey cheese is wild. It’s perfect for those nights when you just wanna relax in your fuzzy socks and eat something comforting without worrying about your carb count spiraling out of control. Also, the leftovers? Freakin’ phenomenal. I reheated a piece for lunch last week, and my coworker was basically drooling over it in the office kitchen.
One time, my friend came over—I didn’t tell her it was low-carb. She cleaned her plate and asked for seconds. If that isn’t the ultimate kitchen win, I don’t know what is. You can serve it on its own or beside something green if you’re feeling fancy. No one’s missing noodles here, trust me.
“I never thought I’d miss pasta less until I tried your recipe! My family can’t get enough and I’ve shared the link at least five times at work. Thanks so much for changing our weeknight dinner game!” —Jessica, actual casserole-obsessed mom

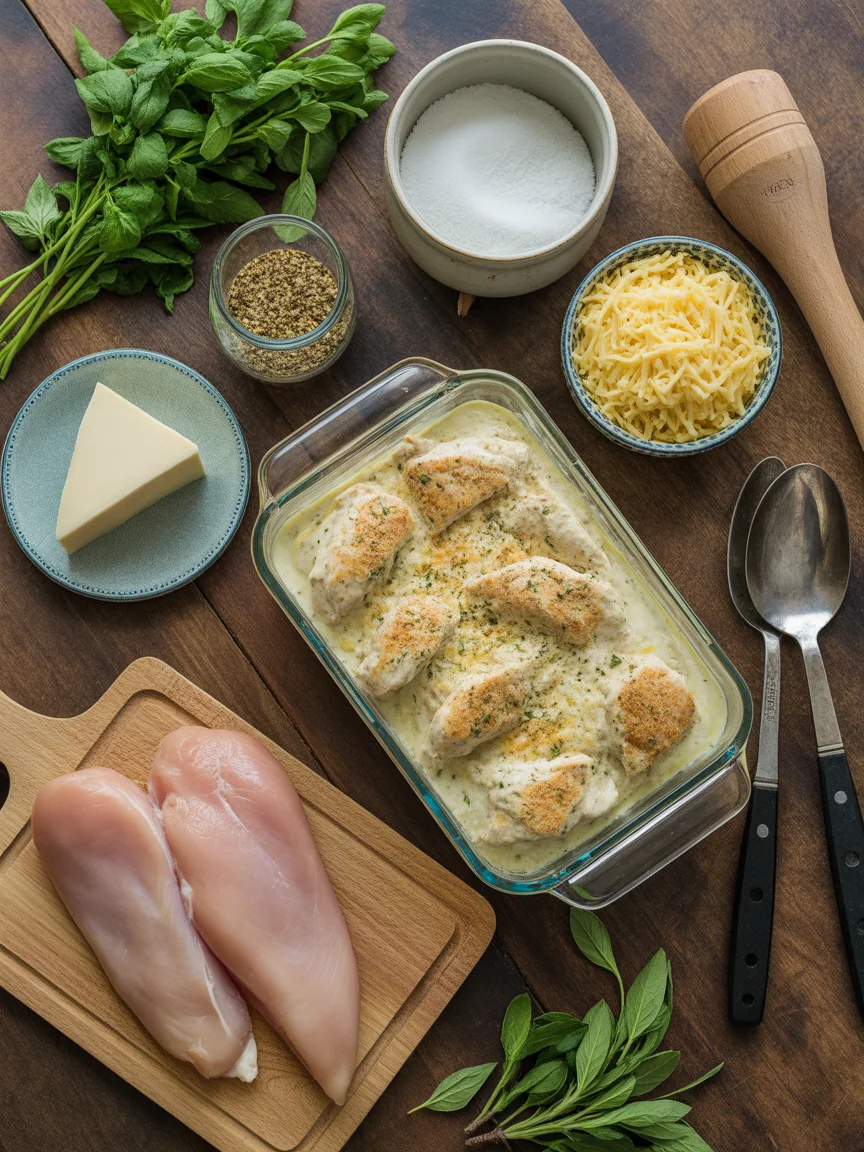
Ingredients Needed
No need for fancy kitchen magic here. You REALLY just need a handful of easy-to-find things. Honestly, most stuff is probably already in your fridge or pantry (I’ve even made this with random leftover cooked chicken and it was still magic). Here’s the basics:
- Chicken: I use cooked, shredded chicken because it soaks up the sauce like a sponge. Rotisserie works if you’re pinched for time.
- Alfredo sauce: You can make your own (cream, butter, garlic, parmesan) or grab a keto-friendly jar at the store.
- Cheese: Mozzarella and parmesan are a must. If you love extra cheese, throw more on.
- Cream cheese: This is the secret for that thick, creamy, melt-in-your-mouth vibe.
- Seasonings: Think garlic powder, Italian seasoning, salt, pepper—whatever fits your mood. Sometimes I sprinkle in a dash of fresh parsley if I remember it in the bottom of my crisper.
Bonus tip: If you want to bulk it up, toss in a handful of broccoli florets or cooked spinach. You do you.
How to Make It
Let’s start simple—no complicated steps here, promise. First, preheat that oven so it’s nice and ready. While it’s heating up, get your chicken shredded or chopped. Mix up the alfredo sauce with cream cheese in a pan until it’s smooth (honestly, I just microwave it when I’m lazy—no shame). Add garlic powder, salt, and any other seasonings you love. Then, in a big bowl, toss together your chicken, some of your cheese, and the sauce you just made. Pour everything into a baking dish, and sprinkle the rest of your cheese right on top.
Pop it in the oven until it’s all golden and bubbly. If you wanna be fancy, let it cool a few minutes so it slices up better. But if everyone’s hovering, go ahead and serve hot and gooey. Seriously easy and basically impossible to mess up.
Sometimes, if I’m short on time, I make extra and freeze half. Then I can just thaw and bake on a night where the last thing I want to do is cook.
Top Tips for Perfecting Your Dish
I’ve tried this keto chicken alfredo casserole every which way, and here’s my absolute best bits of advice for you, my friend. First—don’t skip the cream cheese. Swapping it for something else always changes the texture (and not in a good way). Use a rotisserie chicken for major time savings and loads of flavor. If you like it extra saucy (I get you), double up on the Alfredo or add some heavy cream.
Taste your sauce before mixing with the chicken—sometimes store-bought Alfredo can be bland. Sprinkle a little smoked paprika on top for a subtle, warm twist. Okay, and if your cheese isn’t browning on top? Crank on the broiler for the last few minutes. Just watch it like a hawk! I literally burnt the whole thing once while scrolling on my phone (don’t be me).
Try not to overbake—once it’s hot, gooey, and golden, you’re good to go.
Looking for More Easy Keto Dinners
Let’s get real—easy, low-carb comfort food is the MVP for busy nights. If you’re hungry for more cozy casseroles that keep keto interesting, try out these ideas next. I’m legit obsessed with the keto chicken broccoli casserole for extra greens or that easy keto chicken enchilada casserole if you need a little spice in your life. Seriously, there are loads of options that actually taste good and don’t make you feel like you’re on a diet.
Ready to try a few other ideas? Here are some crowd-pleasers:
- Swap in broccoli, spinach, or mushrooms for variety.
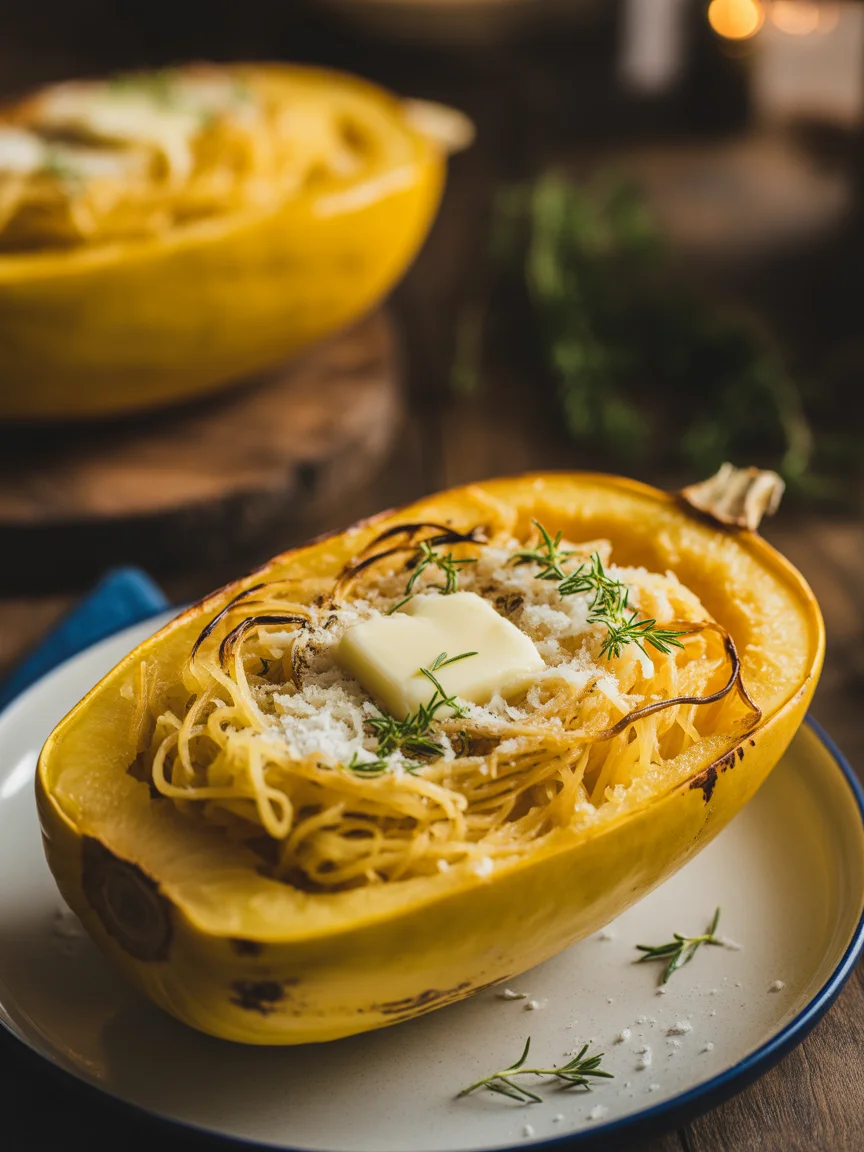
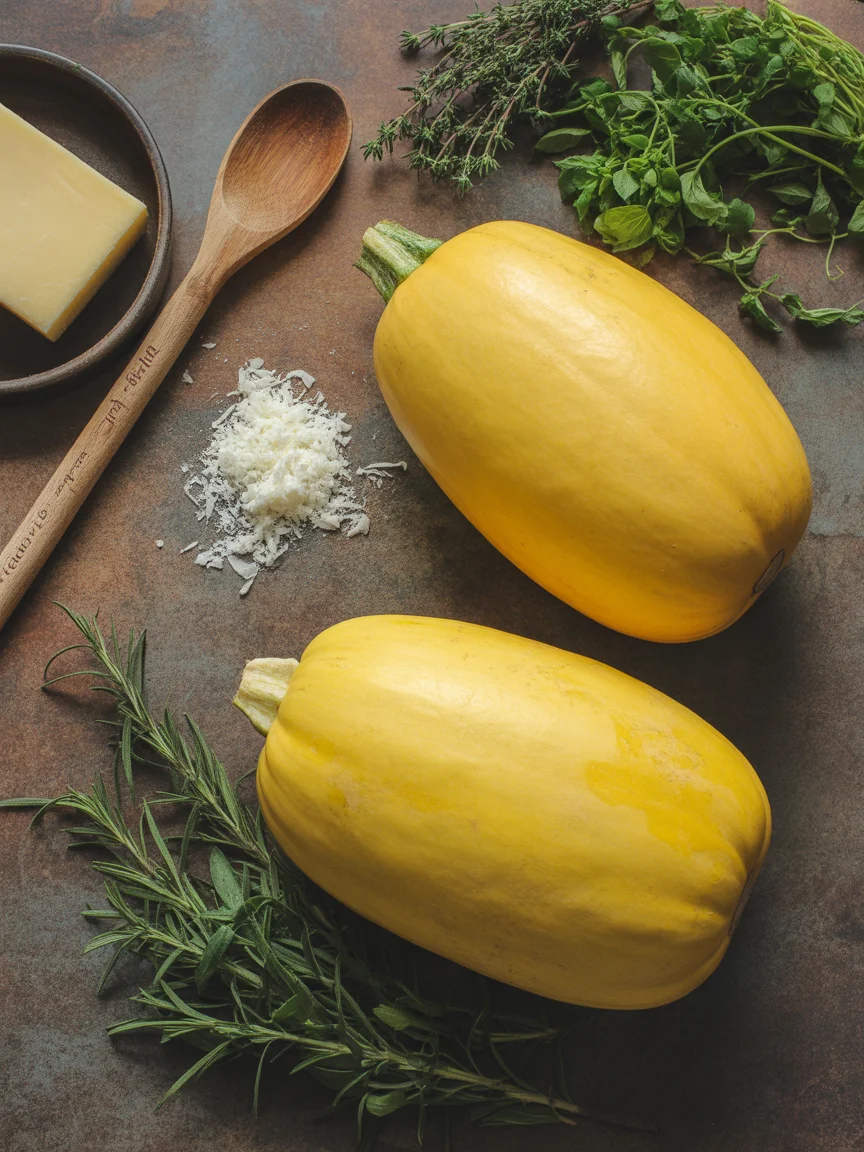
- Try a creamy spaghetti squash alfredo recipe perfect for your keto diet.
- Love a dish with more crunch? Top with toasted almonds before baking.
- Want extra protein? Toss in a few strips of bacon (because…bacon).
Seriously, it’s nearly impossible to get bored. If you want even more, an easy keto chicken casserole is always a massive hit at potlucks.
Common Questions
Do I have to make homemade Alfredo sauce?
Nope! Grab a keto-friendly jar at the store and call it a day. If you have five extra minutes, making it from scratch is even creamier.
Can I use leftover chicken?
Absolutely. Rotisserie, baked, grilled—whatever you’ve got. Just shred or chop it up and toss it in.
Is this freezer-friendly?
Yes! Freeze before or after baking. I like to cut into portions before freezing for easy reheating.
What sides go well with this?
I love it with a pile of steamed broccoli, cauliflower rice, or a quick salad. Keeps things light and fresh.
Can I make this ahead for meal prep?
For sure. Assemble the casserole, cover, and refrigerate. Just bake when you’re ready to eat.
Your Next Cozy Dinner Might Just Be Legendary
This keto chicken alfredo casserole is my absolute go-to for a reason. It just nails that sweet spot between easy, wholesome, and super satisfying. Trust me, after a few bites, you’ll see what I mean. Pro tip: sharing the leftovers (if you have any) will definitely get you hero status at work or home. Want to see how others are putting their fabulous spin on it? Check out these versions like Keto Chicken Alfredo with Broccoli, or this Keto Chicken Alfredo Casserole Recipe that’s super popular, and don’t miss the Keto Chicken Alfredo with Broccoli Bake if you’re a broccoli fan. Go try it—report back and tell me if your family loves it as much as mine does!
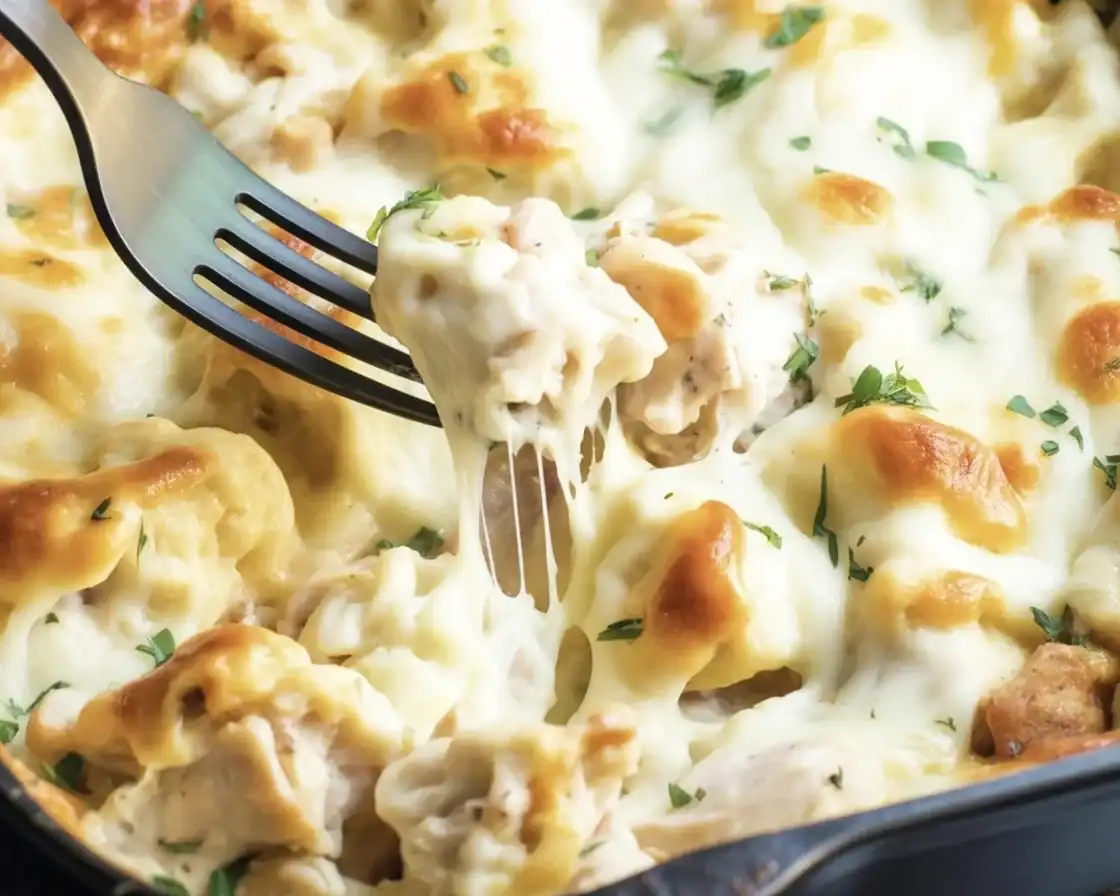
Keto Chicken Alfredo Casserole

A creamy, cheesy, and hearty low-carb casserole that’s perfect for cozy weeknights, this dish turns simple ingredients into a five-star meal.
Main Ingredients
- 4 cups cooked, shredded chicken (Rotisserie chicken works well.)
- 1 cup Alfredo sauce (Can be homemade or store-bought.)
- 1 cup cream cheese (For a thick and creamy texture.)
- 1 cup mozzarella cheese (For topping.)
- 0.5 cup parmesan cheese (For topping.)
Seasonings
- 1 teaspoon garlic powder
- 1 teaspoon Italian seasoning
- 1 teaspoon salt (Adjust to taste.)
- 0.5 teaspoon black pepper
- optional fresh parsley (For garnish.)
Additional Toppings
- 1 cup broccoli florets (Optional, for added bulk.)
- 1 cup cooked spinach (Optional, for added nutrition.)
Preparation
- Preheat the oven to 350°F (175°C).
- In a pan, mix the Alfredo sauce with cream cheese until smooth.
- Add garlic powder, salt, and any other preferred seasonings.
- In a large bowl, combine the shredded chicken, some of the cheese, and the sauce mixture.
Baking
- Pour the mixture into a baking dish and sprinkle the remaining cheese on top.
- Bake in the preheated oven for 25-30 minutes until golden and bubbly.
- Allow to cool for a few minutes before serving to slice easily.
For extra creaminess, double the Alfredo sauce or add heavy cream. Use a rotisserie chicken for quicker prep. Leftovers can be reheated, making this dish perfect for meal prep.